Introduction
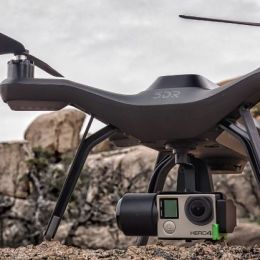
We're used to capturing panoramas using the convenient preset modes on our smartphones and cameras, but the unique drone perspective adds a vertical dimension that allows for spectacular bird's eye views. True, this approach is associated with a more complex process of capturing, processing and exchanging images. In this article, you will learn how to do this and what tools you need to do this. In this case, the legendary DJI Mavic Pro was used as an example, but the process itself will be almost identical when using other drones.
Taking 360-degree panoramas with the drone
First, you need to optimize your drone's camera settings. Use as low an ISO value as possible so that the shutter speed is sufficient to reduce or eliminate blur in the scene. Experimentally, it was revealed that even a speed of 1/60 of a second is quite suitable for landscapes. If you're shooting in excess light, it's also worth seeing if adding a circular polarizing filter like the one from PolarPro will improve the look (CPL filters out a lot of reflected light and often warms up the image captured in bright / excess light). Why PolarPro filters, you ask? Because they are light enough, which means they do not load / kill the drone's gimbal, and at the same time remain strong enough.
This 360-degree panorama of Red Rock Canyon was captured using the Mavic Pro, the Litchi mobile app and workflow described in this article (click to navigate):
Similar to how smartphones got panoramic modes, drone manufacturers have added automatic 360-degree panoramic modes. DJIDJI GO has added One-Click Panorama. The new mode allows a supported drone to take a predefined series of images and stitch them for you. If you are looking for a quick way to get an acceptable panoramic shot, then this option is ideal. It has four modes, of which the Sphere mode is used to create 360-degree panoramic images. Sphere mode captures 34 images and automatically stitches them for you into composite JPEG.
As with any photography, you can get the best quality from your drone's camera by shooting in RAW mode. For the Mavic Pro this means 12MP DNG files. One interesting panorama mode trick from DJI is that if you set the camera to RAW before using it, you will end up with both a stitched JPEG and all the original RAW files that you can later process yourself.
Setting the exposure is probably the most difficult part of setting up your camera. Ideally, for taking a panorama, you need to select one exposure that will cover the important elements of the entire scene, and then lock it using manual mode. However, due to the limited dynamic range of conventional drones, there is often no single exposure setting that works in all directions. In our particular case, surprisingly, success was achieved in a trite way in the automatic exposure mode, allowing the post-processing program to independently engage in stitching in the future. You can also set the drone camera to AEB mode and take multiple shots from each position. This approach will provide the best possible options for the image, however, the process itself will take much longer.
Fly the drone to take a panorama
If you are not using the preset panorama modes, you have a couple of other options for controlling the drone. The first is to operate it manually. Start at the horizon (if there are interesting clouds or mountains, then you can start shooting with the drone higher) and shoot images at intervals around a full circle. For best results, you will need about 50% overlap between images. For the Mavic Pro this means about twelve images around the horizon. Then lower the gimbal about 1/2 of the frame height and repeat the process. Do this until you are looking straight down, then take a couple of shots, rotating around the end point (also called Nadir). Now you're done!
This panorama of rural Shan State in Myanmar was not only fascinating to photograph, but also aroused great curiosity among the locals. One farmer even offered to trade his chili crop for Mavic Pro (click to navigate):
If you want the drone to do it for you, you can use a mobile app that supports programmed panoramas. Based on practice, the best option for today is the popular hobby application "Litchi", which is available for both Android and iOS. It certainly isn't free, but it pays off quickly. In Litchi, you can set where you want to start shooting, how many images you want to take on each line, and how many lines you want to capture. You can even set the delay between frames in the event that the performance of your drone or mobile device is overkill.
Image post-processing
If you shot in RAW, you will need to batch process the resulting images before stitching. A plugin like “Camera Raw” in Photoshop or Lightroom is the best tool for this process. Of course, to ensure a consistent look, you can apply the same settings to all images. For maximum quality, save results as TIFF files if your stapling software supports it; otherwise, in JPEG format.
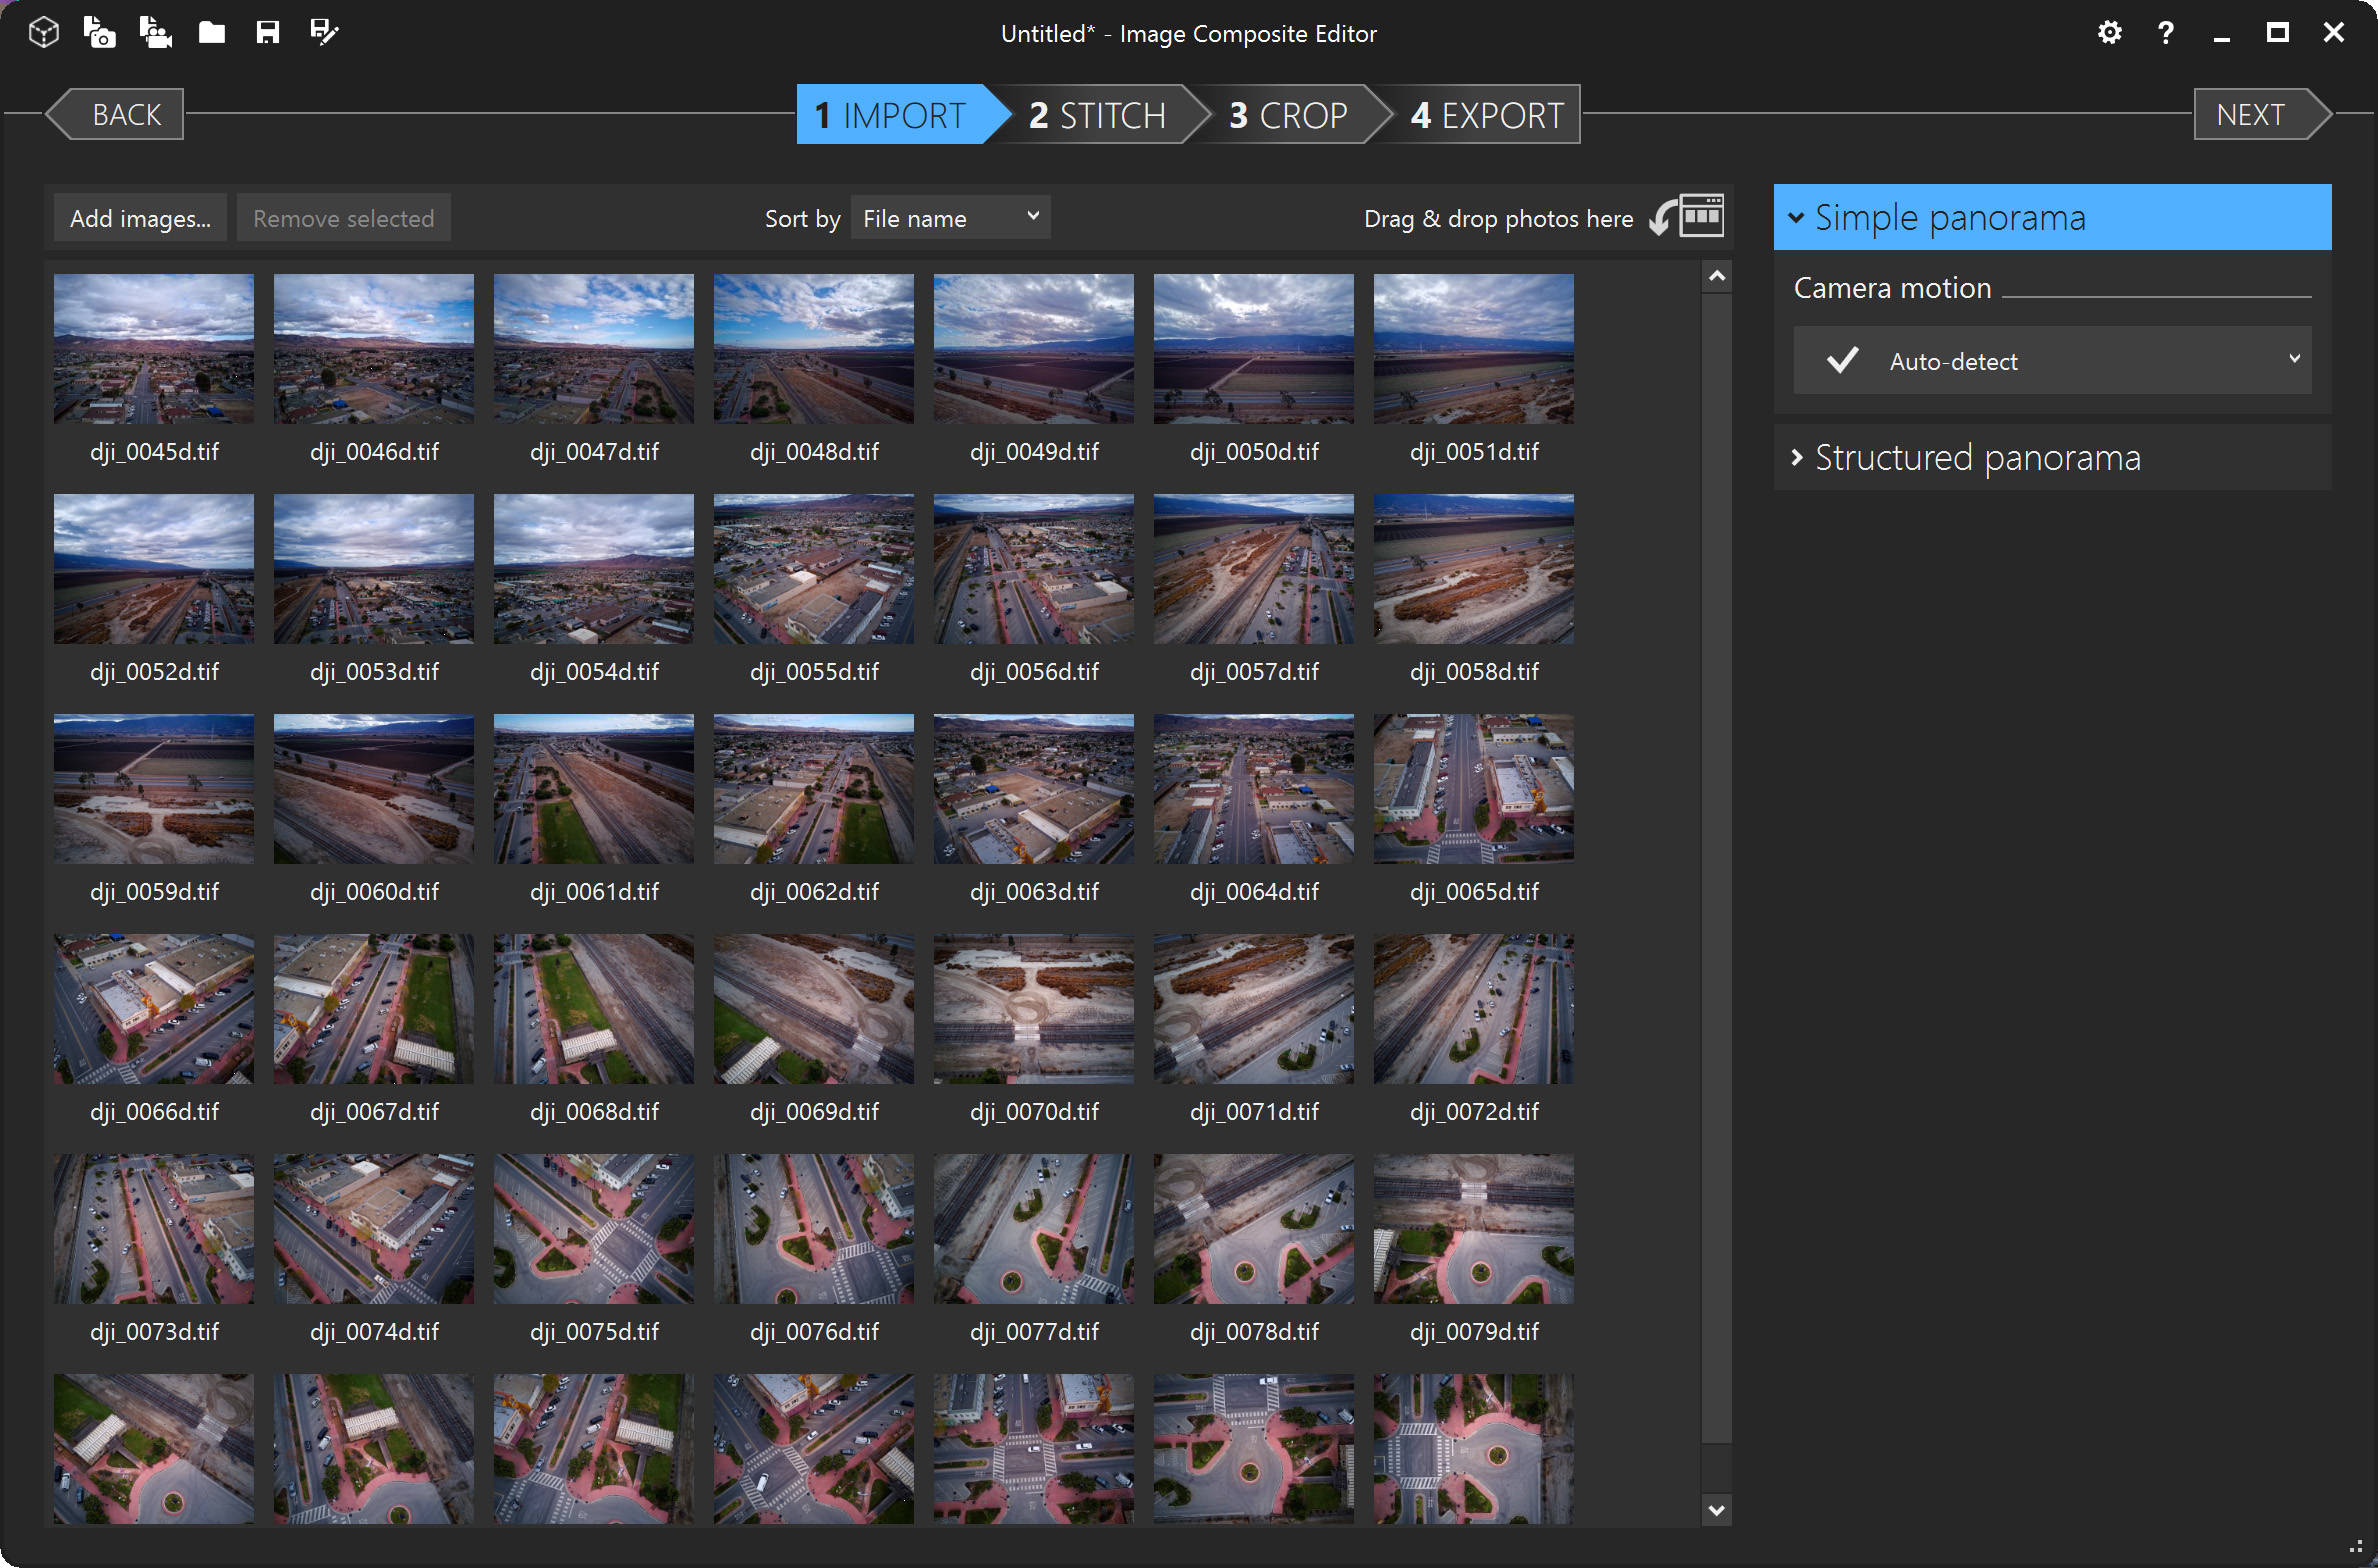
Quality stapling is the most demanding part of the post-processing workflow. Fortunately, there are some really good tools out there. One of the most impressive because of its powerful simplicity is ICE ( Image Composite Editor ) from Microsoft Research. You can almost always just throw your images at it and it will do a great job organizing and stitching them. Unfortunately, this software does not add all the metadata required to display correctly on some social sites, so if you use it, you will most likely have to add some metadata yourself.
You can add your own metadata, but the process is a bit painful. Facebook provides some guidelines on this, but this is not a very user-friendly set of instructions. In general, you are probably better off with your current application, which has automatic support for the required tags. You can also recommend not cropping panoramas, as this complicates the metadata, and the only drawback is that there is a certain black area (or, possibly, an artificially filled blue area) above the horizon.
Stitching panoramas with Hugin
PTGui is a paid application that is quite popular in the hobby, but if you are not considering a paid option, the free cross-platform program Hugin is the best free alternative. Perhaps it is not the most understandable from the point of view of use, but it has an "Assistant" interface that guides you through all the steps step by step (in the new version 2018 it is called by selecting Interface ⇒ Simple). First you will need to upload images by dragging and dropping or using "File Open". Hugin supports JPEG or TIFF files, so it is quite flexible. You will also need to specify the focal length of your drone's camera. For Mavic Pro it is 28 mm.
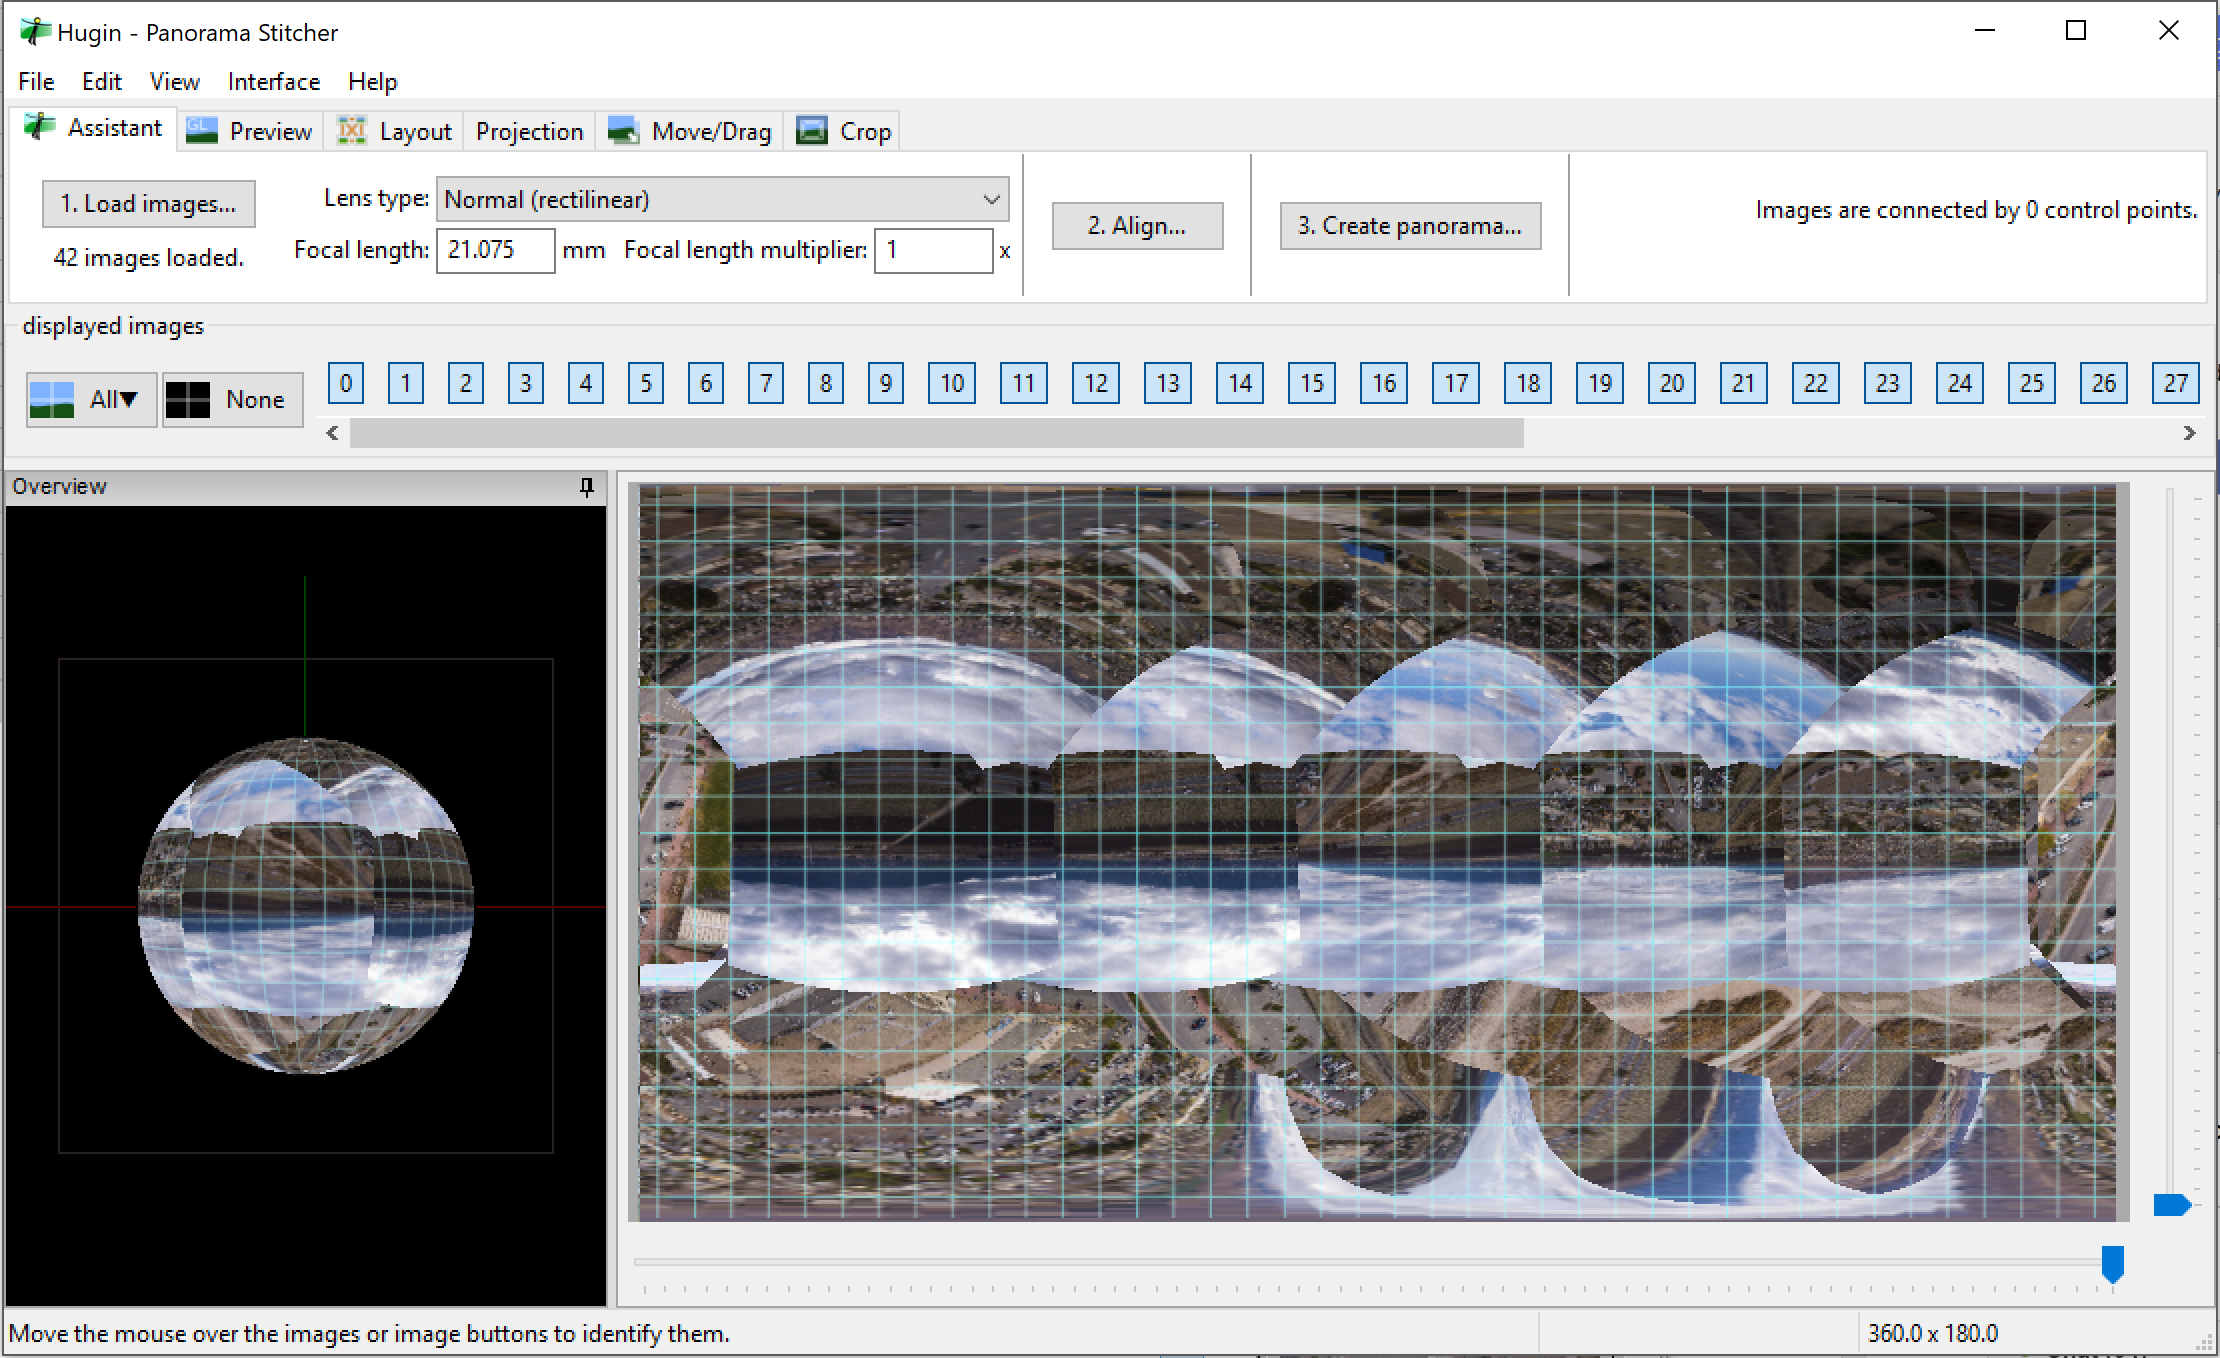
Once you are in the "Assistant" interface, just click on Step 2, "Align...". Hugin will run a background task through which it will try to align and stitch the images using the control points that are defined in their overlap. If all goes well, all you have to do is fix the horizon by dragging it up and down in Layout view. Hugin will also show you all the connections it has made between images. If you see gray lines, it means that some of them could not be connected. You can fix this by clicking on the link and defining the appropriate points between the images that Hugin can use.

Sharing 360-degree panoramas
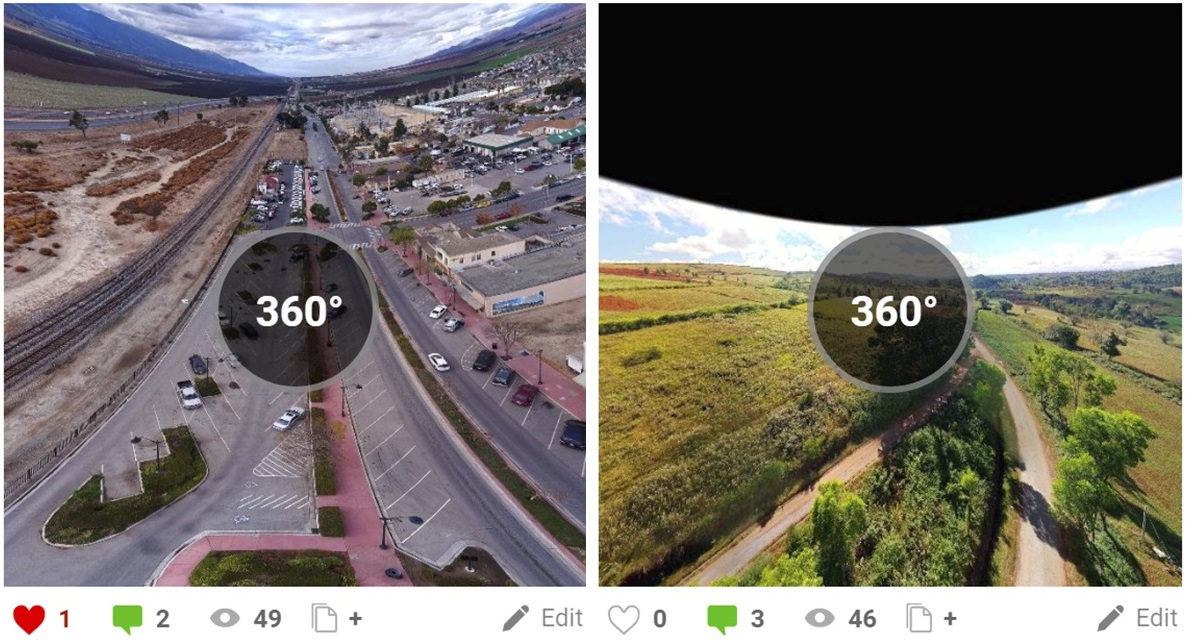
Facebook is the first target of most people for sharing photos, and panoramic photos are no exception. If your image covers all 360x180 degrees, has the correct metadata, and is less than 10,000 pixels wide, you simply upload it like any other photo, and Facebook marks the uploaded image as "360" and allows users to interact with it using the mouse or by moving your mobile device. YouTube does not yet support 360-degree photography (although it does support video), but it does support Google Street View.
Kuula.co can also be referred to as a quality hosting for 360-degree images. Their free subscription provides enough features for most users, and they have some really good browsing tools. Kuula also assumes that all uploaded images are panoramas, so for full spherical panoramas (360x180) you don't even need additional metadata. Kuula also supports the unusually popular "Tiny Planet" view for your spherical panoramas. Finally, Kuula supports higher resolution panoramas up to 16,384 pixels - almost double what you can upload to Facebook. For professionals, a paid version of Kuula Pro is available (from $ 8 per month), allowing for some advanced features such as virtual tours and batch downloads.
Key aspects affecting drone panoramas
Creating high-quality drone video requires a lot of work and preliminary location research. But panoramas from drones are easy to shoot, they can be taken anywhere, and in automatic mode, the process does not require any manual intervention. You don't even need to go far from the takeoff point to capture it. Often just lifting is enough. Be sure to experiment to see which height works best for your location. In most cases, 50-60 meters will be sufficient. If higher, then you are losing detail on the ground. However, if you can see tall buildings or mountains in the distance, as in the image of Red Rock Canyon in this article, then by lifting the drone higher you will be able to capture them at their best.
.